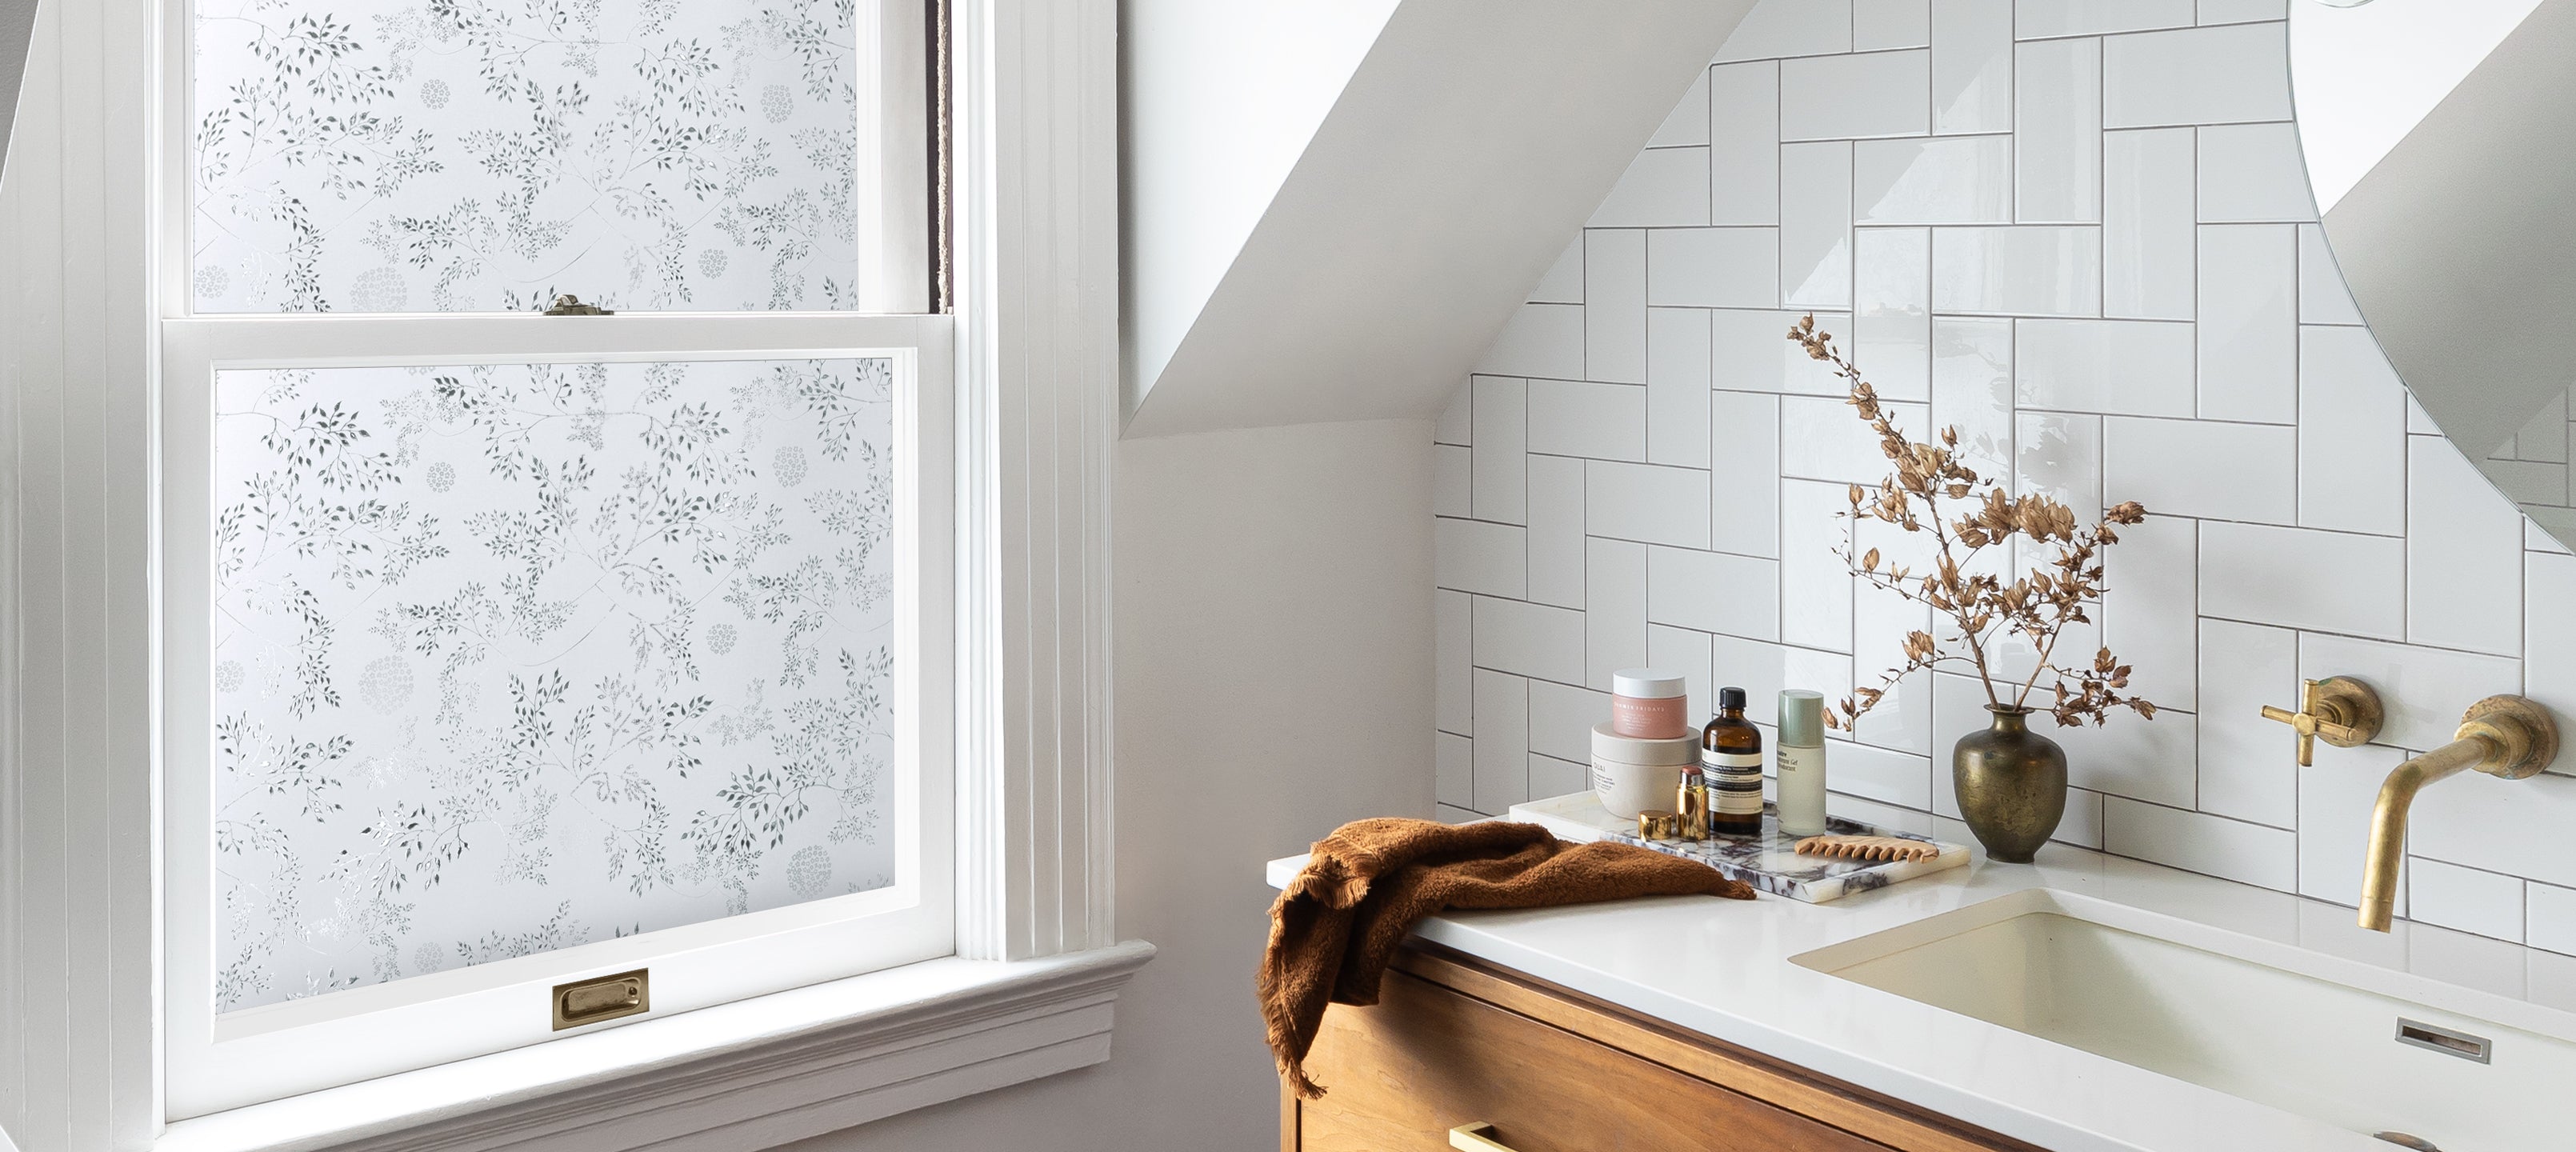
Installing decorative window film is one of the simplest ways to refresh your space, no tools, no experience, and no long-term commitment required. Artscape window films are designed to be DIY-friendly, renter-approved, and endlessly flexible, making them a smart choice for first-time installers and seasoned DIYers alike.
Whether you’re adding privacy, softening light, or introducing pattern to your windows, this step-by-step guide walks you through the exact method for a smooth, bubble-free installation.
What You’ll Need
-
Artscape window film
-
Glass cleaner
-
Lint-free cloth or paper towels
-
Soapy water (a few drops of dish soap in a spray bottle)
-
Squeegee
-
Cutting mat
-
Utility knife
Important: Never cut film directly on the window, and never use scissors. Scissors can warp the design and lead to uneven edges.
Make It Even Easier with Our Application Kit
For a seamless install from start to finish, the Artscape Premium Window Film Application Kit includes everything you need to cut and apply static cling window films with confidence. The kit features a high-quality spray bottle, a small pouch of soap, a plastic squeegee with a rubber edge for smooth application, and a sharp retractable lock-in-place blade for precise trimming. Designed for both first-time installs and future projects, it’s a one-time toolkit you’ll reach for again and again.

Step-by-Step: How to Apply Window Film
1. Clean and Measure your Window
Start with a completely clean surface. Remove dust, fingerprints, and residue using glass cleaner and a lint-free cloth. A clean window is essential for proper adhesion and a smooth finish that will last. Measure your window horizontally and vertically, from frame to frame.

2. Trim the Film on a Cutting Mat
Trim the film on a cutting mat only. Do not cut the film on the glass, and do not use scissors, both can distort the pattern and affect alignment.

3. Spray the Glass with Soapy Water
Generously spray the window with your soapy water solution. This allows the film to glide into place and makes adjustments easy.

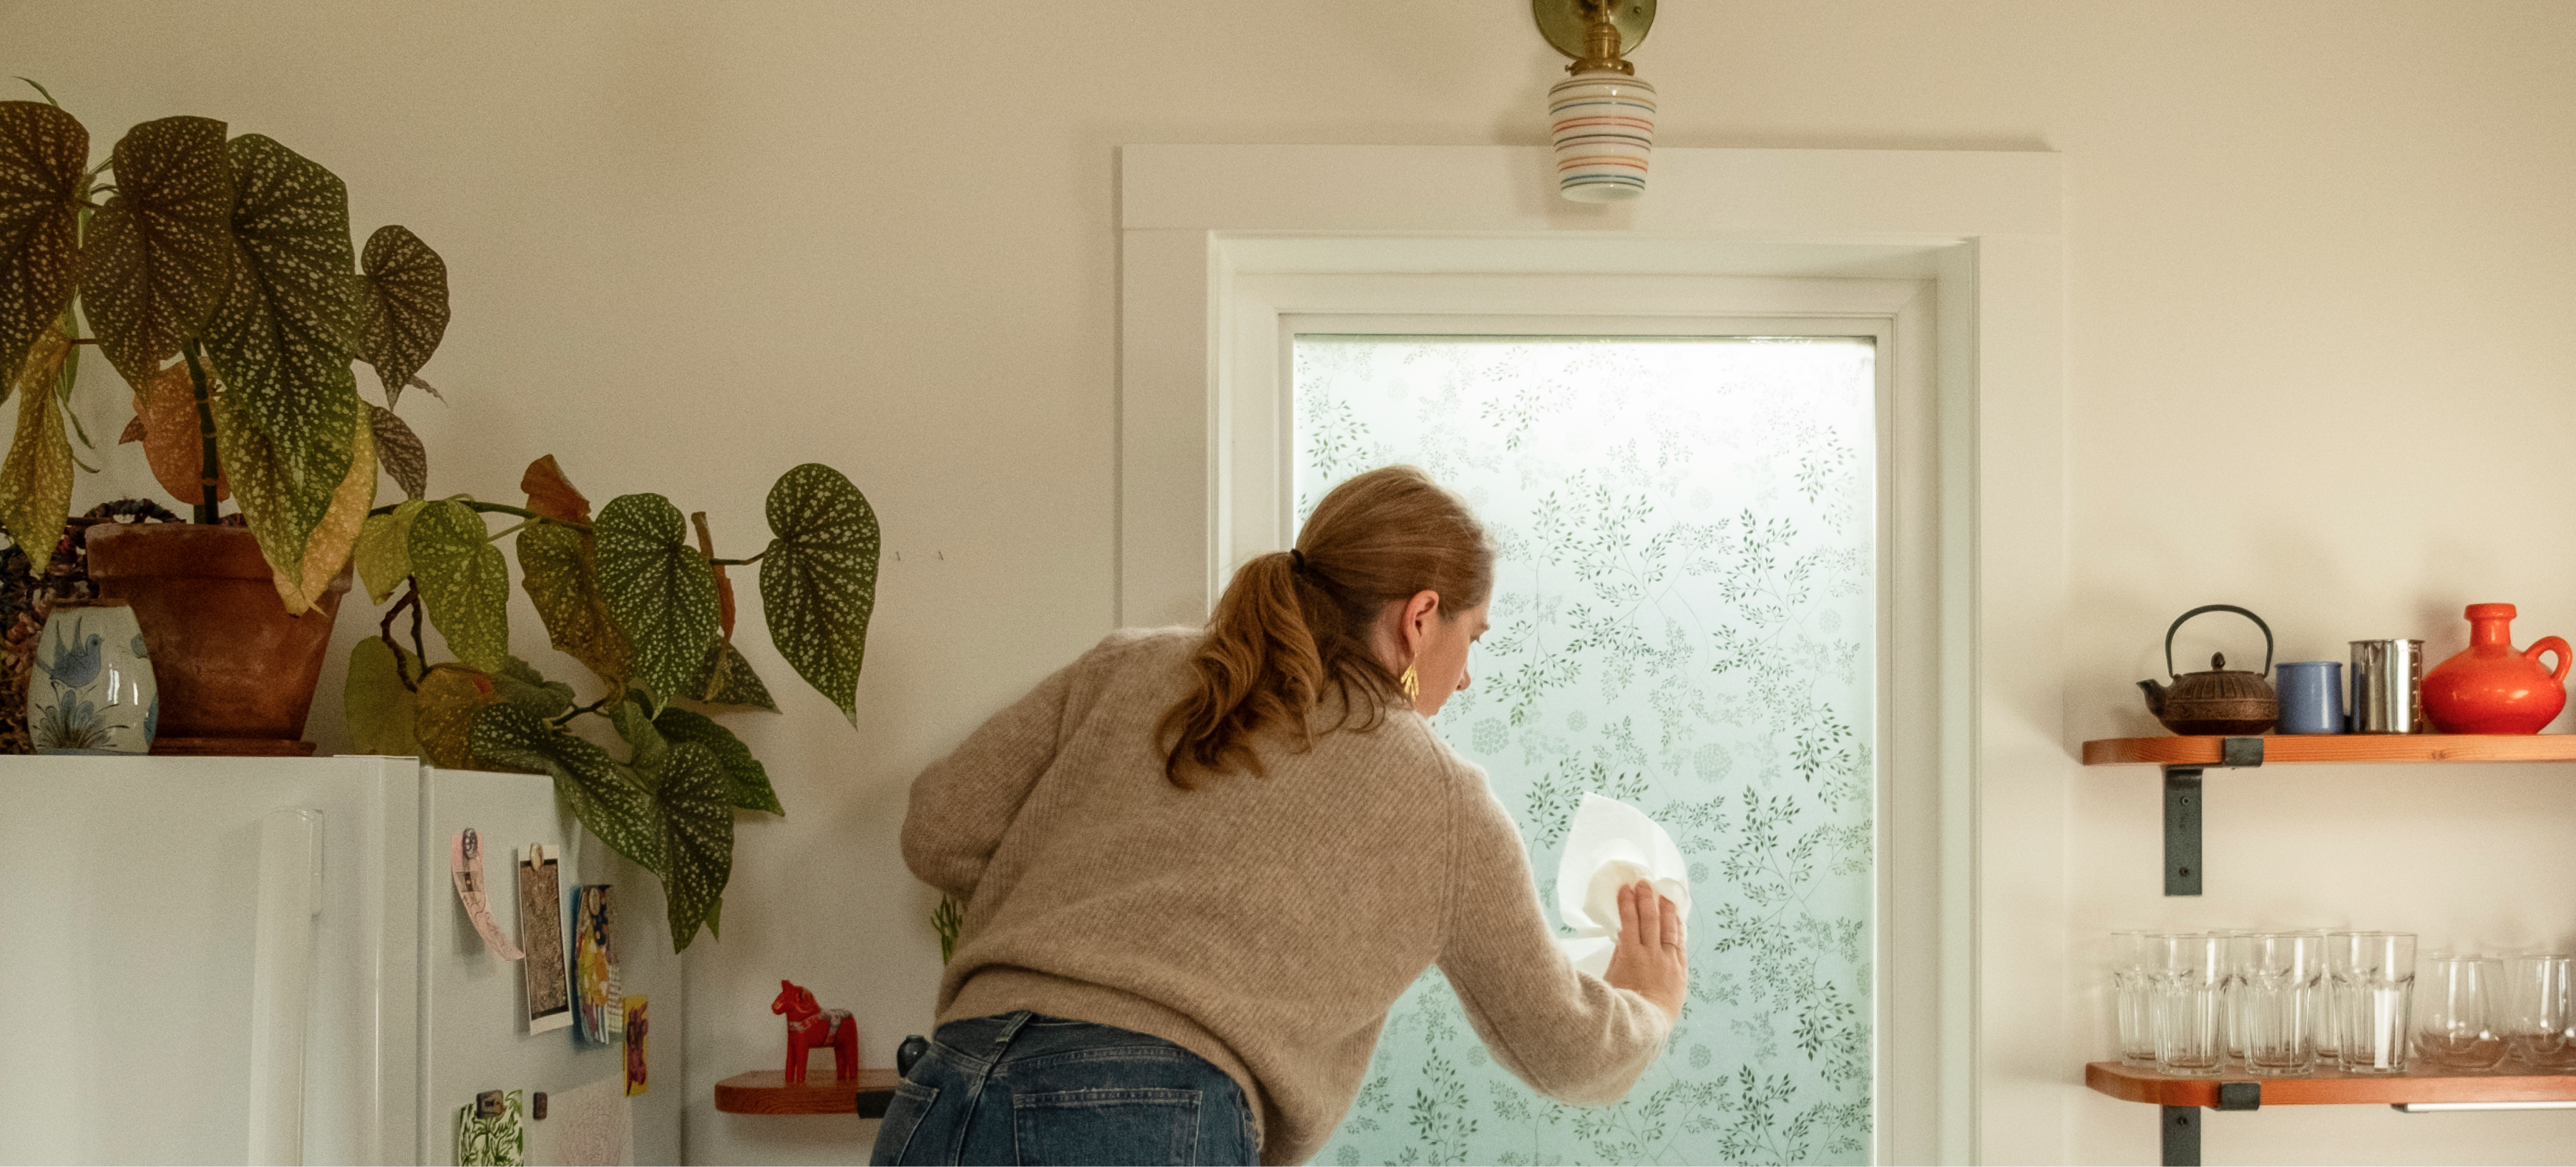
4. Remove the Paper Backing and Place the Film (Textured Side Facing You)
Remove the paper backing and apply the film to the wet glass with the textured side facing you. This ensures proper placement and helps prevent mistakes during installation.
5. Spray the Film Again
Once the film is positioned, spray the surface of the film with more soapy water. This reduces friction and protects the film as you smooth it out.

6. Smooth with a Squeegee
Using a squeegee, work from the center outward to remove air bubbles and excess water. Take your time, slow, even strokes deliver the best results.
7. Wipe Down the Film
With a paper towel or clean dishcloth, wipe away remaining moisture from the window film.

Removable and Renter-Friendly
Artscape window film is designed to be removable without damaging glass or leaving residue. While adjustments can be made easily during installation, the film is not intended to be removed and reapplied once it has been on the window for several hours. This makes it an ideal solution for renters, seasonal refreshes, or anyone looking for a beautiful, low-commitment way to add privacy and pattern, without permanent changes.
Practical Benefits Beyond Style
-
Adds privacy while still letting natural light through
-
Softens harsh light and reduces glare
-
Enhances windows with pattern, texture, and visual interest
-
No adhesives, no residue, no stress
Final Tip
Take your time, follow each step exactly, and trust the process. Window film installation should feel easy, calm, and doable. With Artscape, it truly is.